01
Setting up a project
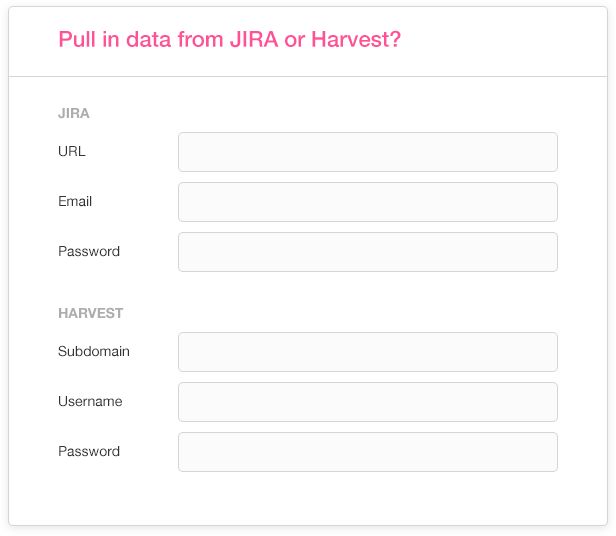
The first step is to connect to the tools you already use. By default, we connect to Harvest for time tracking, and Jira for ticket management. And Xero for invoices. We'll be adding more integrations soon. You don't have to use all of these, but we've found them pretty useful.
02
Add your Project
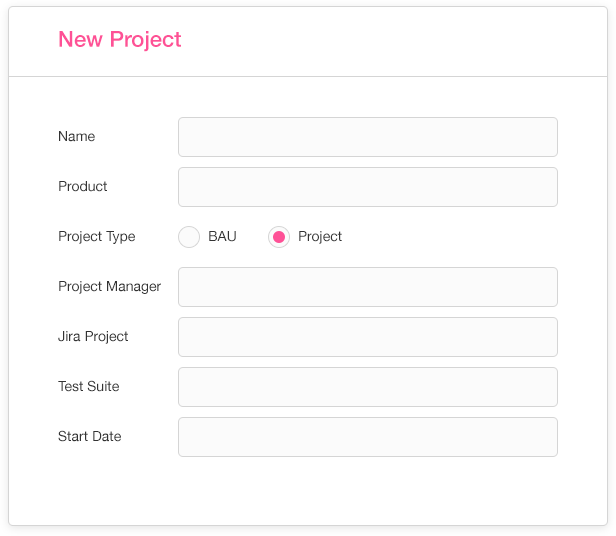
The next step is to create a new project. Add some information like client and project manager to help you keep organised. Then define attributes like budget and start / end date. At this point, you can also add in some sprints. Alternately you can just have one sprint for the entire project.
03
Show me the graphs!!
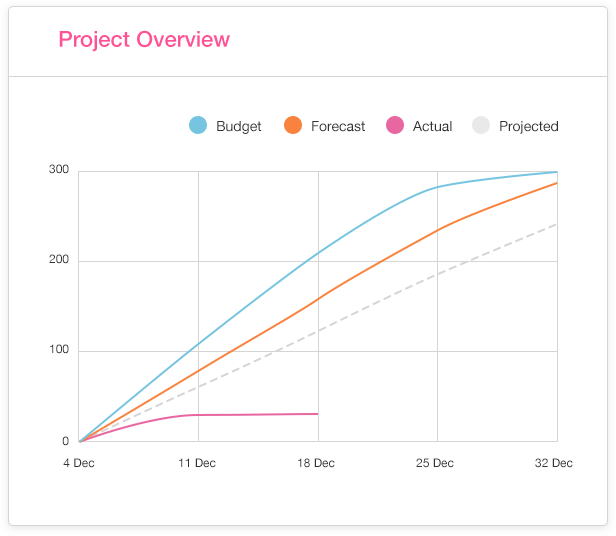
As your data starts to build, you'll be able to compare the time you're actually spending against your budget and forecast. You can also see how you are tracking week to week, and where you're projected to end up.
04
Overview
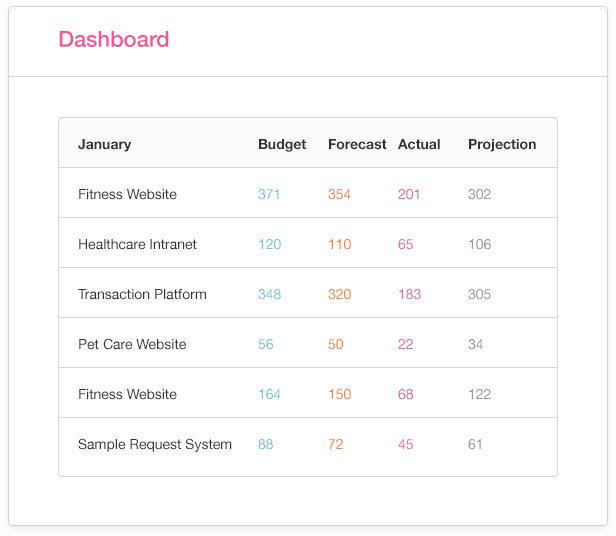
It can be useful to see not only how one project is going, but how are all the projects for ClientX going? Or all the projects under way for that Brand (we call these "products"). In this overview you can see all projects for a client in a single dashboard.
05
Record decisions and progress
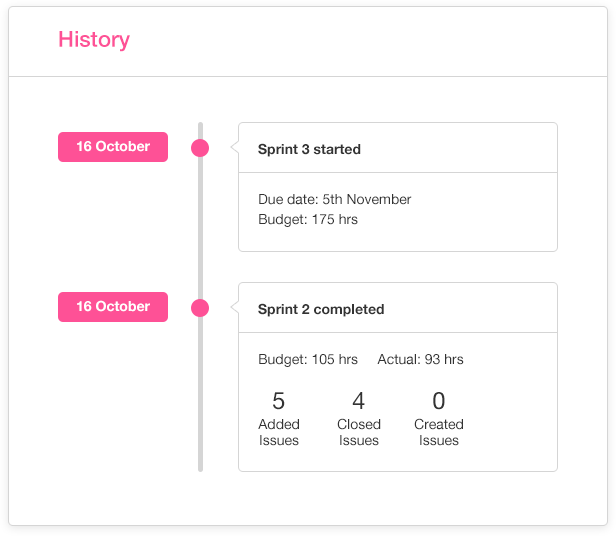
One thing we've continually stumbled on is decisions made during an Agile project, and how this impacts the timeline. In the middle of a project, you'll need to make compromises and drop one thing and prioritise another. But at the end of a project these can be hard to justify when you have a stakeholder asking where The Thing is, when it was moved to the backlog in Sprint 2.
06
Demonstrating project completion
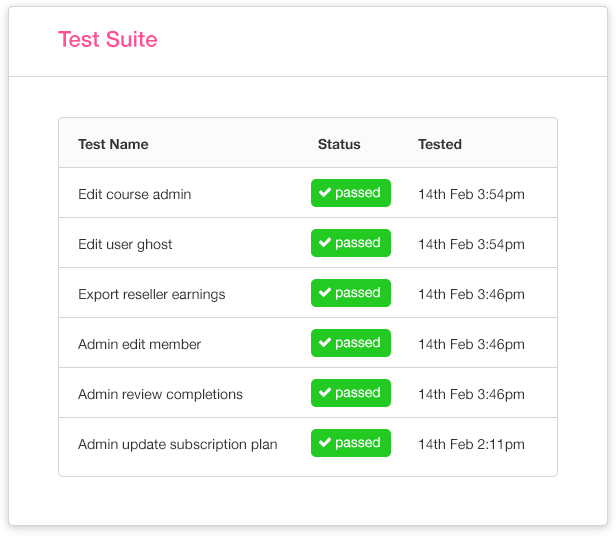
A Waterfall process typically uses a big specification doc (which no one reads), and then the project is "done" if it follows what was in the doc. Well, we all know that isn't actually how it ever happens, but that can be the perception. And we know automated tests are FTW to provide peace of mind that something is working the way it should. So we pull in Automated Test results into your project, so all stakeholders can clearly see which parts are passing or failing.
